BACK
GLITCH ART
STAGE 1
STAGE 2
STAGE 3
STAGE 4
ORIGINAL
PART 1
PART 2
PART 3
Once we had finished all the tasks that Antonio set over the semester, we had some spare time to create other things. One of the things that we as a class asked to do was to create glitch art. The first thing that we had to do to create glitch art was to download the audacity program because this was one of the ways that Antonio showed us. The image that I chose to glictch was an image of mine that I had taken on a disposable camera. I then took this image into audacity. The only way that I can use my image on audacity is to import the image. So I would have to click on import and raw data. If I don't import the image in this way, the glitching of the image wouldn't work. Another rule that I had to follow was to change the encoding to U-LAW. If this is not change it would also be another reason why the glitching wouldn't work. The next thing that you will see on audacity once you imported the image is a sound wave. This sound wave is the sound wave of the image. This is where the glitching will happen. In order to glitch the image, you have to "break" the sound wave. You can change the sound wave to however you want it to. In this case, I "broke" the sound wave quite a bit. To then see the glitched image, you will have to save the image as BMP. Above you will be able to see the progress of the original image to the most glitched image. To me this was pretty fun to learn because I didn't realise how simple it was.

TEXT EDIT
GLITCH 1
GLITCH 2
GLITCH 3
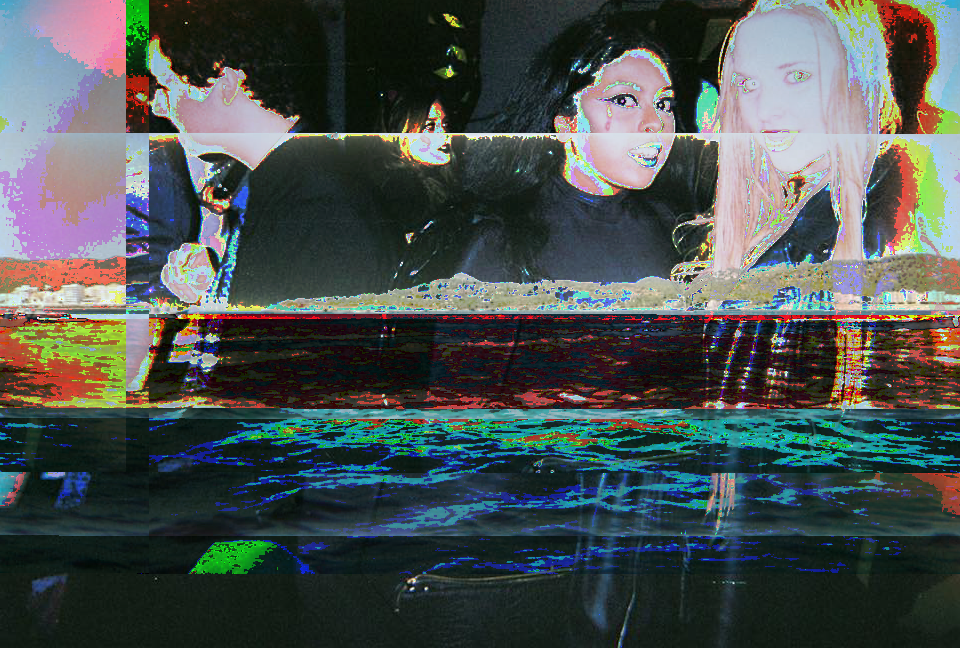
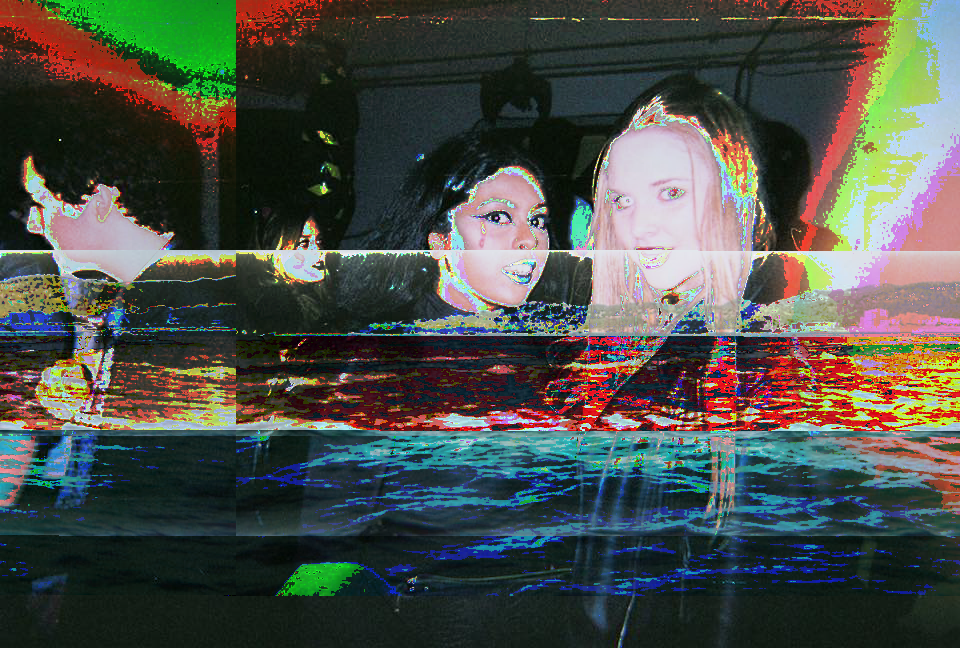
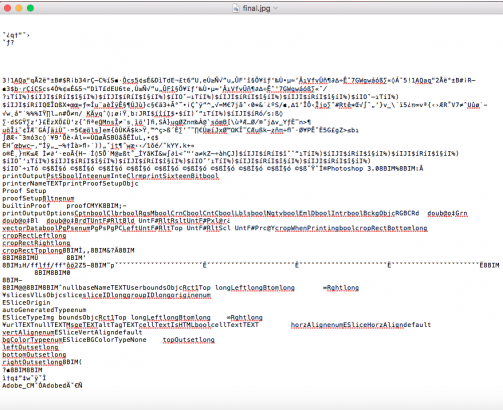
Not only can you glitch images in audacity but you can also edit images on text edit. Text edit is a program where you would literally write notes but you can also import images into text edit. It is very similar to audacity but then again not so simple. The first thing that you need to do is, of course choose an image. The image that I chose this time round was a picture of a friend and I. Once you have opened the image, a load of texts will appear, the next step is the glitching. In order to glitch the image, you have to take parts of the text and delete them. Or what you could also do it find a name of number and replace it. This is how you can glitch an image on text edit. However there is one default in using this program and that is, the image can break and therefore the image can no longer exist.
What I did here was, I created a new file and imported the monkey object. I then selected the monkey and exported it as a OBJ.
I then opened up text edit so that I could start to glitch the monkey. After I opened the file in text edit, I repeated the same instructions over again and that was to edit the text.
GLITCHING A MONKEY?
These were the results of some of the images of the monkey. The more I glitched the money, the more I got into it to see what I can make. I then went onto assigning different colours to the faces as I wanted to see how it would turn out.
END ANNIMATION